


How to Check Motorcycle Race-Boot Soles, Zippers, and Fasteners for Wear Before a Track Day
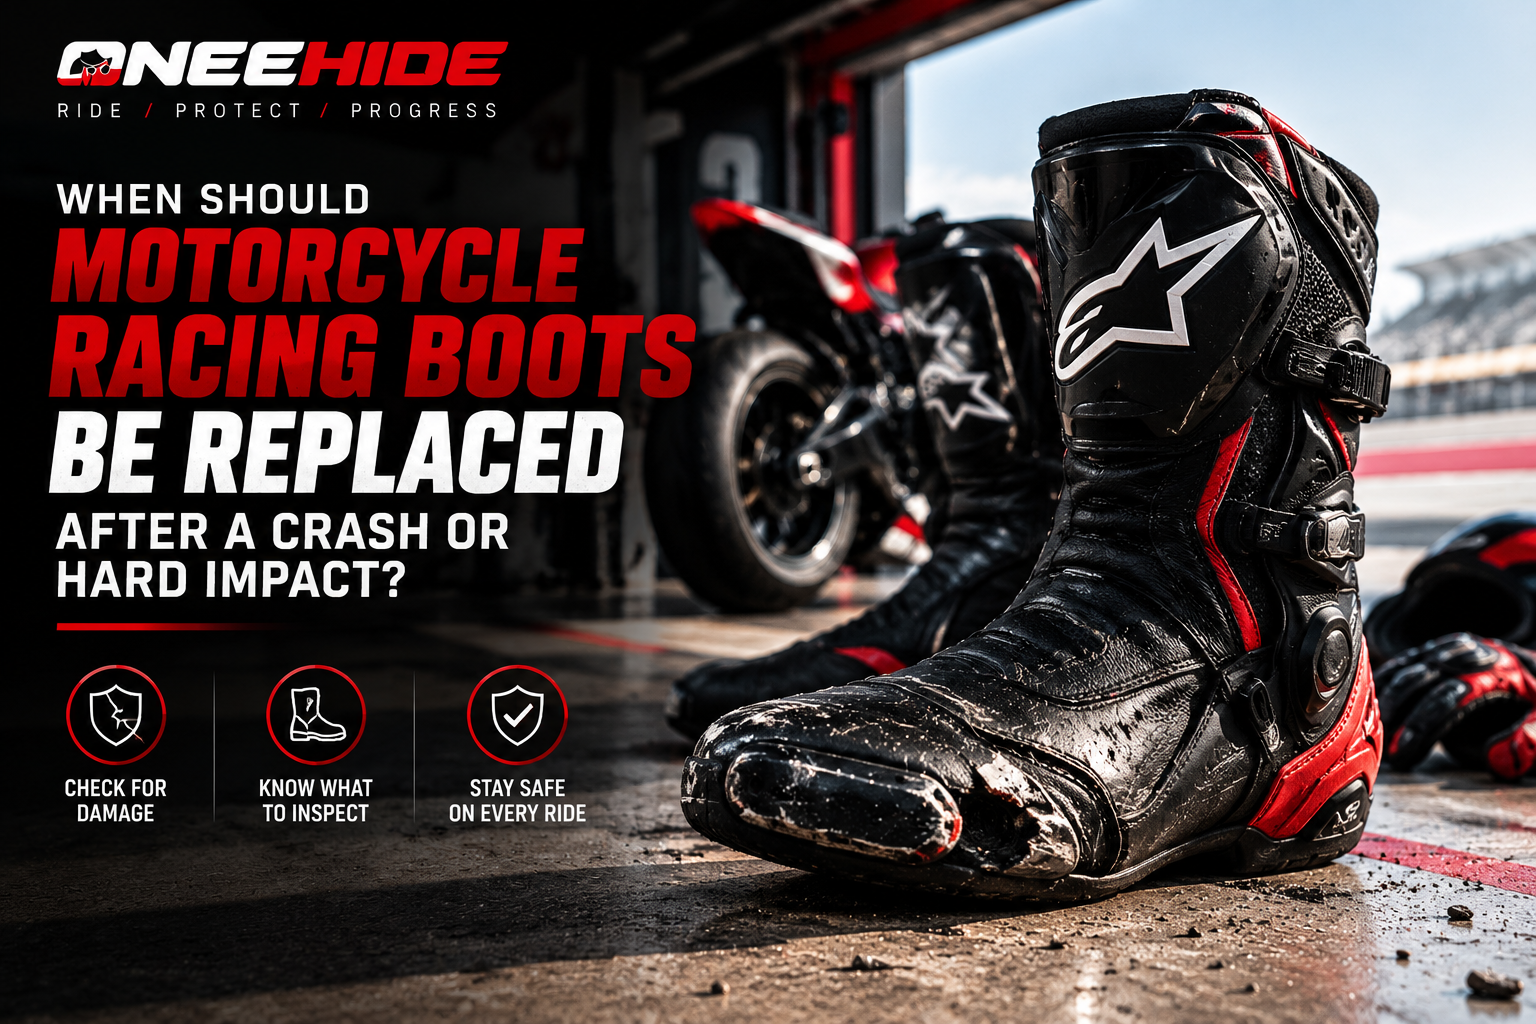
A pair of motorcycle racing boots can look ready for another track session while hiding a worn sole, a failing zipper, or a buckle that no longer locks securely. These small defects deserve attention because the boots must stay positioned on the feet while the rider shifts gears, operates the rear brake, and responds to unexpected movement on the circuit.
The best time to inspect race boots is before loading the motorcycle or travelling to the track, when there is still time to clean the footwear, replace an approved component, or arrange another pair. A quick glance at the outer shell is not enough. Wear often develops around the sole edges, zipper ends, strap anchors, and other areas that flex repeatedly during riding.
A systematic inspection takes only a few minutes once you know what to look for. The aim is to distinguish normal cosmetic wear from damage that could affect the boot's fit, closure security, or protective structure, and to identify problems that require replacement rather than a temporary fix.
Why Race-Boot Wear Matters Before a Track Session
Motorcycle racing boots are designed to protect the feet and lower legs while allowing enough movement to operate the motorcycle's controls. Their performance depends on several components working together: the outsole provides contact with the footpegs, the upper holds the foot in place, and the closures help maintain the intended fit.
The EN 13634 motorcycle footwear standard covers protective footwear for on-road and off-road motorcycle use. Its requirements address protection, ergonomic characteristics, mechanical properties, marking, and user information. A boot's compliance when manufactured, however, does not establish that it remains serviceable after extensive wear or damage.
Before a track day, pay particular attention to three areas:
-
Soles: Wear, separation, or deformation can affect contact with the footpegs and the structural integrity of the boot.
-
Zippers: Damaged teeth, sliders, or surrounding material can prevent the boot from closing properly.
-
Fasteners: Loose buckles, stretched straps, and worn attachment points can allow the boot to shift during riding.
These components also interact. A damaged zipper may prevent the upper from fitting securely, while a loose strap can change how the boot sits around the ankle. Inspecting each component separately makes it easier to identify the source of a problem before deciding whether the boot can be used.
How to Inspect Motorcycle Race-Boot Soles for Wear
The outsole deserves a close inspection because it experiences repeated contact with footpegs, occasional contact with the track surface, and bending as the rider changes position. The objective is not to find a perfectly unmarked sole. It is to determine whether wear has changed the sole's structure, attachment, or usable contact surface.
Check the tread, contact areas, and edges
Start by turning each boot over and examining the full outsole under good lighting. Look at the heel, forefoot, toe area, and edges where the sole meets the upper.
Pay attention to the following signs:
-
Uneven wear: A contact area worn much more heavily than the surrounding sole may indicate repeated friction or a change in how the boot contacts the motorcycle.
-
Deep cuts or gouges: Surface marks can be harmless, but cuts that remove substantial material or expose another layer need closer assessment.
-
Cracks: Splits in the outsole, particularly those that open when the boot moves naturally, may indicate material deterioration.
-
Smooth or distorted areas: Excessive wear, melting, or deformation near the footpeg contact zones can affect grip and stability.
-
Separation: Any gap between the outsole and upper should be investigated, especially if the gap is growing or extends around the heel or forefoot.
Compare the left and right boots. They do not need to show identical wear, but a pronounced difference can help identify an area that needs closer inspection.
Inspect the sole-to-upper bond
The junction between the outsole and the boot's upper is an important structural area. Look for lifting edges, separated adhesive, loose stitching where stitching is used, or movement between components that should remain firmly joined.
Do not pull aggressively at the sole to test its strength. Gentle visual examination is sufficient to identify an obvious gap, and forceful testing could worsen a weak bond. If the sole is separating, do not assume that pressing it back into place makes the boot safe.
An approved repair may be possible for some models, but the manufacturer's instructions determine what can be repaired. A generic adhesive or household glue is not a reliable substitute for an appropriate repair procedure.
Check the sole's shape and flexibility
A racing boot sole needs to provide suitable support while allowing the movement required for riding. A sole that has become twisted, collapsed, or unusually soft may no longer behave as intended.
Compare the boot with its original shape and the manufacturer's guidance. Avoid bending the sole forcefully or attempting to reproduce laboratory tests by hand. The purpose of a pre-ride check is to identify abnormal changes, not to certify structural performance.
If the sole is badly worn, cracked, separating, or visibly distorted, keep the boots out of service until the issue has been resolved. If damage affects the boot's supporting structure, replacement may be more appropriate than repair.
How to Check Race-Boot Zippers Before Riding
A zipper should travel along its track without snagging, separating, or requiring unusual force. On motorcycle racing boots, the zipper and its surrounding panels work together to secure the boot around the foot and lower leg, so inspecting the teeth alone can miss important problems.
Inspect the teeth, slider, and zipper tape
Open the zipper fully and examine it from top to bottom. Remove dust, grit, and dried debris with a soft brush before testing its movement. Dirt caught between the teeth can cause resistance, but repeated snagging may also indicate damaged teeth, a bent slider, or misalignment.
Look for these warning signs:
-
Missing, bent, or visibly damaged teeth.
-
A slider that separates the teeth behind it instead of closing them securely.
-
Fabric or leather around the zipper that has torn, stretched, or pulled away from its stitching.
-
A zipper track that bows or shifts as the boot is closed.
-
A pull tab that is cracked, loose, or close to detaching.
The zipper tape, which anchors the teeth to the boot, deserves as much attention as the mechanism itself. If the tape is separating from the surrounding material, replacing the slider alone will not address the underlying problem.
Test the zipper without forcing it
Move the slider through its full travel several times, keeping the boot in its normal shape. It should operate smoothly and close the intended area completely. Never force a jammed zipper, pull it sideways, or use pliers to squeeze the slider back into shape.
If the zipper sticks, first check for removable debris and follow the manufacturer's cleaning instructions. Use a lubricant only if the boot manufacturer permits it and specifies a suitable product. Some products can affect surrounding materials, and excess lubricant can attract more dirt.
A zipper that repeatedly opens under ordinary movement, fails to engage, or has damaged attachment material should be repaired using an approved method before the next session. If the zipper is integral to the boot's protective closure and cannot be reliably repaired, replace the boot.
How to Inspect Buckles, Straps, and Other Fasteners
Fasteners must hold the boot in its intended position without slipping loose. Depending on the design, the system may include micro-adjustable buckles, ratchet straps, hook-and-loop panels, snap fasteners, or a combination of these components.
Start by cleaning the hardware. Grit can hide cracks and prevent a buckle from engaging correctly, so inspect the mechanism only after removing dirt that obstructs it.
Examine buckle teeth and strap anchors
Open each buckle and inspect the parts that carry the fastening load. Look for cracks in plastic, bent metal, worn ratchet teeth, loose pivots, and damaged mounting points. Check that the buckle closes fully and stays latched when you move the boot normally.
Next, follow each strap to its anchor. Fraying near a buckle may be cosmetic in some locations, but fraying where a strap carries tension is more concerning. A strap that has stretched, torn, or begun pulling away from the boot may not maintain the intended fit.
For hook-and-loop closures, check that the two surfaces engage securely across the intended area. Lint and debris can reduce their grip, but worn hooks, damaged loops, or material that peels away from its attachment point indicate a problem that cleaning may not fix.
Check hinges and adjustable support systems
Some racing and motocross boots include articulated ankle mechanisms, replaceable support pieces, or external braces. Inspect these parts for cracks, missing hardware, abnormal looseness, and movement that differs from the manufacturer's description.
Do not assume every joint should feel completely rigid. Articulated designs are intended to permit a defined range of movement while controlling unwanted motion. Compare the mechanism with the product manual rather than trying to eliminate movement by tightening every screw.
Manufacturer-specific instructions matter here. Fox Racing's boot care guide, for example, recommends checking buckle hardware, hinges, and sole contact areas as part of routine boot maintenance. Follow the instructions for your own model, including any specified tools, torque requirements, and replacement parts.
If a buckle, strap anchor, or support mechanism is cracked or cannot lock securely, do not ride with it held together by tape, cable ties, or improvised fasteners. A temporary fix is not equivalent to a verified repair.
A Practical Pre-Track-Day Boot Inspection Routine
A consistent inspection routine makes it easier to spot changes between sessions. Riders do not need specialist equipment to identify obvious wear, but they should avoid treating a home inspection as proof that damaged protective equipment remains safe.
Set aside a few minutes before each track day and work through the same sequence.
Pre-ride checklist
Inspection progress
0 of 7
Clean the soles and inspect the heel, toe, and footpeg contact areas.
Check for cracks, cuts, deformation, and separation between the sole and upper.
Open and close each zipper, checking the teeth, slider, tape, and stitching.
Operate every buckle and strap, confirming that each closure locks securely.
Inspect hook-and-loop panels, strap anchors, and any ankle hinges or braces.
Check the lining and fit for unexpected changes, loose padding, or pressure points.
Confirm that replacement parts and any previous repairs are approved for the boot model.
The inspection should be performed on both boots, even if one appears to receive less wear. Small differences can develop because of riding habits, motorcycle controls, and the way each foot contacts the ground.
Clean and Store Boots to Reduce Premature Wear
Regular maintenance makes defects easier to spot and can help prevent avoidable deterioration. Dirt and grit can interfere with zippers, buckle mechanisms, and articulated supports, while damp storage can affect some materials and adhesives.
After riding, brush away loose dirt and clean the boots using products and methods approved by the manufacturer. Pay particular attention to the outsole edges, zipper tracks, buckle teeth, and strap attachment points. Let the boots dry naturally in a ventilated area, away from direct heat, unless the manufacturer's instructions specify otherwise.
Avoid harsh solvents, unapproved lubricants, and aggressive cleaning methods. These can damage materials or affect components that are not designed to tolerate them. Keep the original care instructions so you know which parts can be replaced and which repairs require an authorized service provider.
Storage matters too. Keep boots away from prolonged heat, direct sunlight, and conditions that could deform the shell or degrade materials. Store them in a way that does not place unnecessary pressure on the zippers, fasteners, or ankle mechanisms.
When Should Worn Race Boots Be Repaired or Replaced?
Not every worn component means the entire pair has reached the end of its useful life. Some models use replaceable sliders, soles, buckles, or straps, allowing a manufacturer-approved repair to restore a specific function. The key is knowing whether the damage is limited to a serviceable component or affects the boot's underlying protective structure.
|
Condition |
Appropriate action |
|
Dirt in a zipper or buckle |
Clean according to the manufacturer's instructions and retest. |
|
Worn replaceable slider |
Replace if the manufacturer supports replacement and the mounting area is intact. |
|
Damaged buckle or strap |
Install an approved replacement before riding. |
|
Separating sole or damaged zipper attachment |
Seek an approved repair assessment. |
|
Cracked shell, deformed support, or compromised structural material |
Retire the boot unless the manufacturer confirms an appropriate repair. |
|
Unexplained change in fit or closure security |
Stop using the boot until the cause has been resolved. |
When buying replacement footwear, look for a design that suits your riding discipline and allows you to inspect its key components easily. Comparing track motorcycle boots can help you assess different styles, but the individual boot's fit, protective features, closure system, and maintenance requirements should guide the decision.
Before heading to the circuit, make sure both boots close securely, the soles remain structurally sound, and all adjustable components function as intended. If a safety-critical defect remains unresolved, arrange a suitable replacement rather than relying on a quick fix. A short inspection before the session is a sensible routine, but riding should wait whenever the condition of the protective equipment remains uncertain.
- Goth Lifestyle
- Fashion & Style
- Music & Bands
- Art & Photography
- Creative Writing & Poetry
- Events & Scene
- Occult & Spirituality
- DIY & Tutorials
- Beauty & Self-Care
- Relationships & Dating
- Gaming & Media
- Tech & Gadgets
- Body Art & Piercings
- Underground Culture
- Spotlights & Interviews
- Travel & Places
- Lifestyle & Daily Life
- Fitness & Health
- Travel & Adventure
- Books & Literature
- Tech & Gaming
- Movies & TV
- Food & Drinks
- Humor & Memes
- Pets & Animals
- General Arts & Crafts

 English
 Arabic
 French
 Spanish
 Portuguese
 Turkish
 Dutch
Dutch
 Italiano
 Russian
 Romaian
 Portuguese (Brazil)
 Greek
Greek